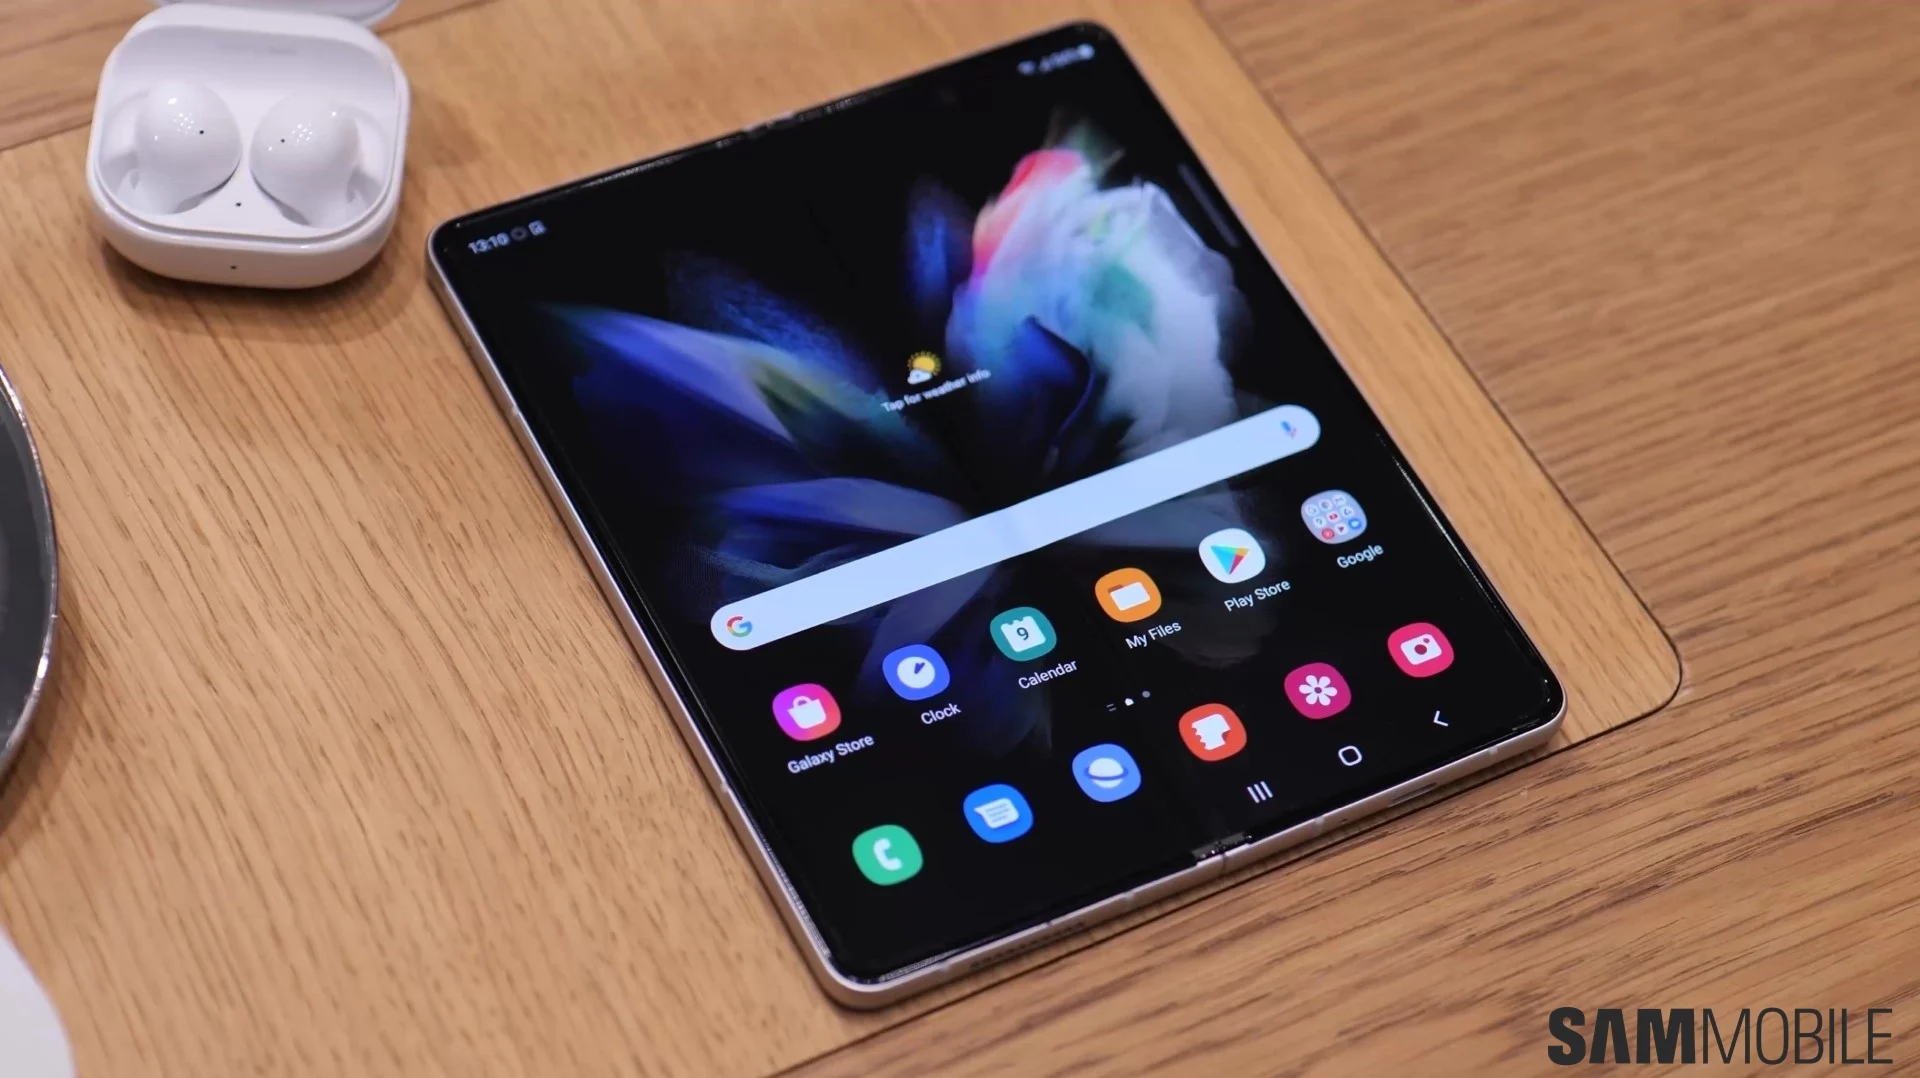
The Samsung Galaxy Z Fold 3 is one of the few devices that can compete with the finest Android emulators. The Fold 3 is a true powerhouse for playing the top Android games and emulation.
With the Galaxy Z Fold 3’s ability to fold in half, you may use it in landscape mode to simulate utilizing Nintendo DS Emulator.
Therefore, in this guide, we’ll describe the step-by-step procedure on how to convert the Galaxy Z Fold 3 into Nintendo DS. So, let’s get started!
Stepwise Procedure to Turn Galaxy Z Fold 3 into Nintendo DS
If you want to convert your Samsung Galaxy Z Fold 3 smartphone into Nintendo DS, then here is the complete systematic procedure to do so. Go through the steps and follow them in the same manner.
Step 1: Download and Set Up the DraStic DS Emulator
- Go to the Play Store on your smartphone and install the DraStic DS Emulator. Also, download various skins you might need.
- Now, move to the My Files application on your Fold 3 and open the Downloads folder. Perform a long press on any of downloaded photos and choose all of the DS skins you wish to get in DraStic.
- Next, hit the Move button present in the bottom-side toolbar. Then, select the drop-down arrow near the Internal Storage option present in the sidebar.
- Scroll through the list of options and choose DraStic. Select the Backgrounds option and then finally hit the Move Here option.
Step 2: Install and Set Up Good Lock
You must first install Good Lock app from Samsung Galaxy Application Store in order to make the most of these DS skins on Drastic. This allows you to extend DraStic across the camera region to make the most of your screen without distorting the skin.
Once Good Lock app is installed, refer to the following steps to customize Drastic’s appearance.
- Launch Good Lock application.
- Select the MultiStar option. If it is not downloaded already, tap on the download button. Scroll down through the list and select the app size stretch to camera hole option.
- Go to the Search icon present in the upper right-side corner and type DraStic in it. Choose the Overlap with the camera area option.
- Finally, hit the OK button to confirm.
Once the setup is finished, it’s time to install the skins you previously acquired to transform the Galaxy Z Fold 3 into Nintendo DS.
Also read: The Rise of Web3 Games in the Gaming Industry
Step 3: Set Up the Game Settings
- Launch the DraStic DS program on your Galaxy Z Fold 3. Hit the Load new game option, choose any game that you wish to play, and tap on Start Game.
- Let the game load completely, then find Options (three dots icon) at bottom of your display and select it. Choose Menu from the pop-up menu.
- Go to Settings and select the Edit Screens and Virtual Pad option. Now, from the list that appears, select Landscape 1:1.
You will now be directed to the virtual pad’s editing screen once you have selected the layout. You won’t notice any on-screen controls by default since the displays will be present on top.
Steps to set up Virtual Pad
- Go to the bottom-left corner of your screen and select Menu. Choose the Set Background Image option. Then, hit the Menu option in the bottom left corner.
- Choose the skins that are labeled as Landscape. Then, shift the display box in the top right corner to skin’s bottom. In the lower right corner, click Resize Screen.
- To resize the screen to suit the bottom cutout for the display, pull the bottom right edge of the box. To resize and move the top screen, follow the same procedures.
- When finished, press the Back button on the bottom right. In the lower-left corner, hit the Menu button. From the context menu, choose Edit Controller Layout.
- Select each button individually, then drag it to its desired location on the screen. Use the Resize option in the bottom right-hand side corner to resize them. You can adjust the size as per your requirements by dragging the slider.
- When finished, click the Back button in the right-hand side corner. In the lower-left corner, click Apply. Press the Menu button once more. Choose the Save as global layout option.
Once the button and skin location has been saved, you will now be redirected to your Options page, where we first started. To prevent DraStic’s on-screen commands from detracting from how amazing all the skins look, we need to perform another step to adjust the controller’s opacity.
Steps to set the opacity of the controller
- Select Options from Game Menu. Then, go to Virtual Gamepad.
- Now, scroll down and navigate to Controller Opacity, then drag the slider until 0% is displayed.
- To return to your game, hit the arrow located in the top-side left corner three times.
That’s all, you are good to go!
Conclusion
To conclude, one of the best Android smartphones for Nintendo DS compatibility is the Galaxy Z Fold 3. Hence, through all the above systematic steps you would be able to turn any Galaxy Z Fold 3 to NintendoDS. To avoid any errors, we suggest you to follow all the instructions carefully.
